Here are some tips for cutting and joining plastic pipes that will guarantee a long-lasting, leakproof plumbing job.
Your tools:
- Spirit Level
- Hacksaw
- Glue
- Pencil
- Tape Measure
Make square cuts for the strongest joints
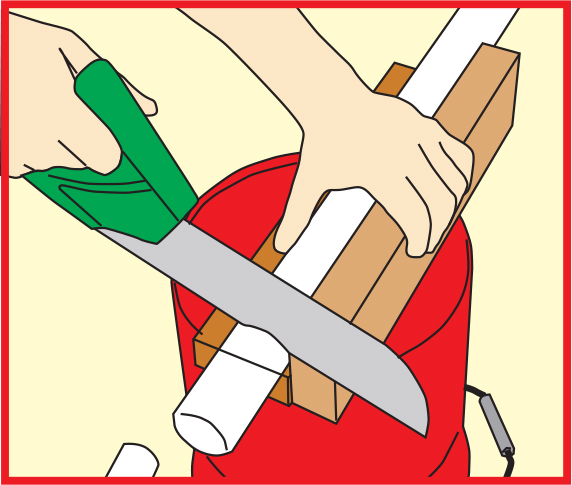
Square pipe ends fit snugly into the fittings, allowing plenty of contact area for the solvent cement to work. They also make a smoother interior surface for better water flow. A power mitre saw and other special tube cutters guarantee square cuts, but you can do the same job with a hacksaw. The illustration shows an easy-to-use guide that’s made by screwing together pieces of timber.
Sand off the saw burrs for a better fit
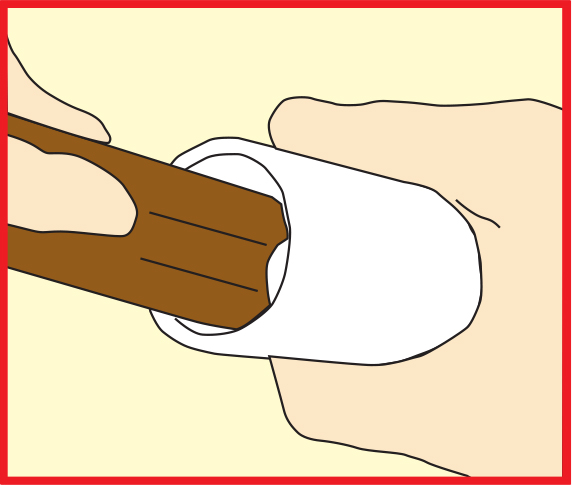
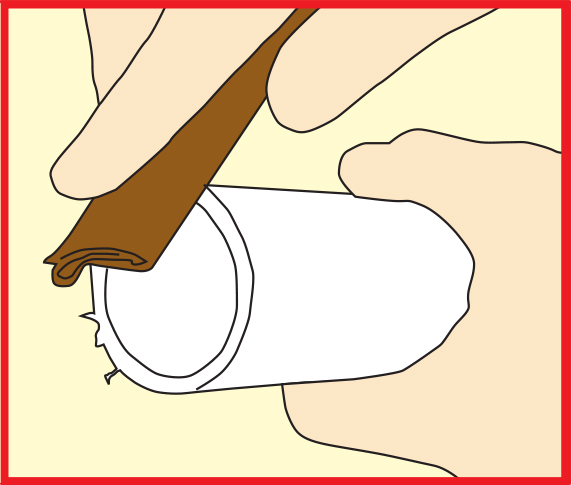
Plastic burrs can cause trouble. On the outside, they will interfere with a good fit and on the inside, they can collect debris and slow water flow. Sandpaper is the best choice for removing burrs. You can also remove them with a file or pocketknife, but sandpaper is easier to use and works well.
Simply roll a quarter sheet of 80 grit sandpaper into a tube and flatten it slightly to match the curve of the pipe. Then hold the sandpaper at an angle and sand the inside and outside of the plastic pipe until you create slightly bevelled edges.
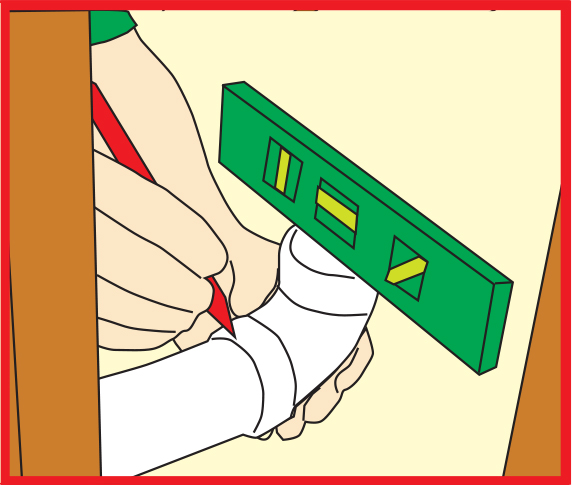
Mark the pipe and fitting for precise orientation
Dry fit the pipe and fitting, using a torpedo level if needed to align the fitting, and make a mark across the fitting and pipe.
Use these marks to align the fitting and pipe when you join them with solvent cement. This is important because you only have a few seconds to align the pipes correctly once solvent and cement have been spread on the pipes.
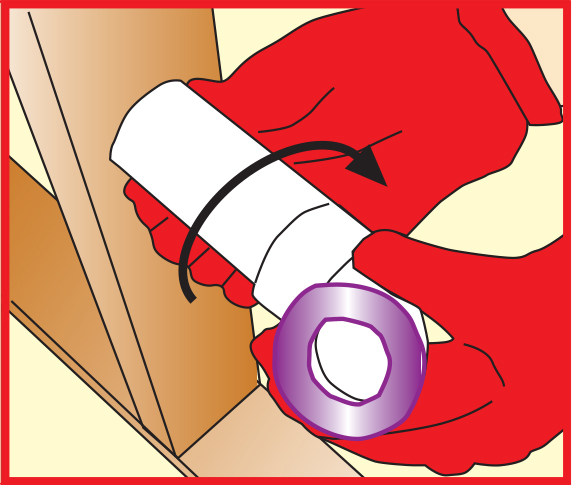
Use an even layer of cement and the quarter-turn technique for the strongest joints
For strong joints, ensure you have an even layer of cement over all mating surfaces. Spread an even layer of solvent cement on the same surfaces.
Take care not to apply too much to the inside of the socket on the fitting. You will now need to work fast to complete the assembly. Align the fitting and pipe about a quarter turn from their final orientation. Twist the fitting a quarter turn as you press into the pipe.
Twisting the fitting helps spread the solvent cement evenly to ensure a solid joint. Hold pipe and fitting together for about 15 seconds until the cement grabs.
Caution
The solvent vapours from the cement can make you dizzy and are dangerous to your health.
Ensure good ventilation or wear an approved organic vapour respirator when working solvent cement.
Spread an even layer of solvent cement on the inside of the fitting and outside of the pipe.

Push the pipe into the fitting and twist until the marks are aligned. Press and hold the pipe for about 15 seconds.
What if I make a mistake?
With plastic pipes, it is easy to correct a mistake. Simply cut out the problem section, correct the mistake and reassemble the joint with a coupling. Then cement the parts together.
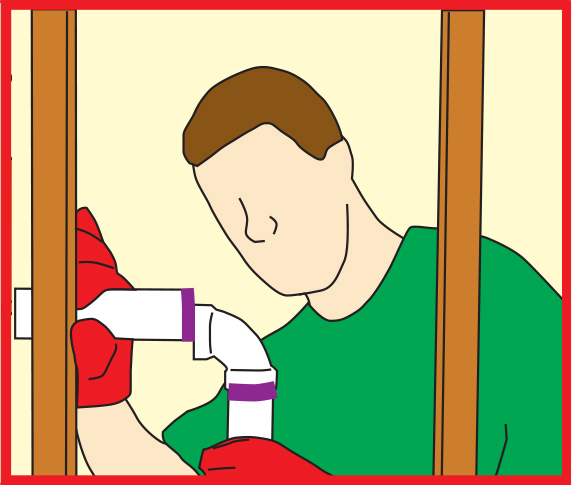
Use the proper solvent for each type of plastic
Read the label to match the solvent cement to the type of pipe you are using. If in doubt, ask your retailer.
Joining PVC pipes to other pipes
Your tools:
- Spirit Level
- Hacksaw
- Screw driver
- SSN coupler
- Glue
- Pencil
- Tape Measure
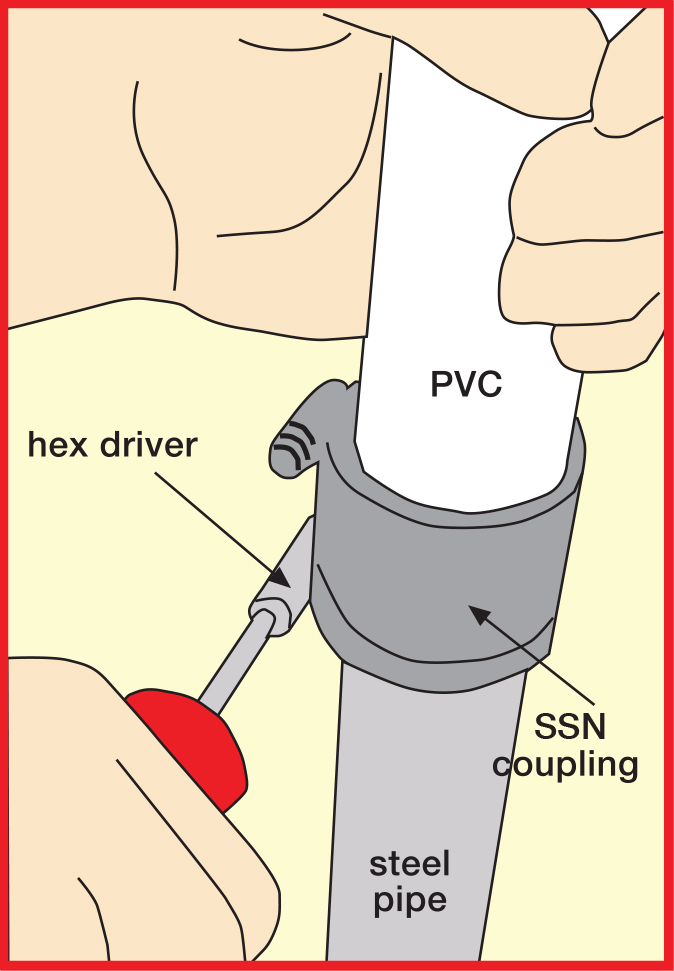
Use SSN couplings to connect different types of pipes
SSN couplings have a flexible rubber sleeve surrounded by a metal sleeve and band clamps.
They are handy for connecting plastic pipe to cast iron, copper or steel, especially if you cannot thread on an adapter.
Each coupling is labelled.
For less common connections, contact or ask our plumbing department for advice.
Slide the pipe ends into the SSN fitting. Turn the screws clockwise with a hex head driver to tighten the bands and seal the joint.
