Laying paving slabs involves a good deal of physical labour, but in terms of technique, it is more complicated than tiling a wall. Accurate setting out and careful laying, especially during the early stages, will help you achieve perfect results.
TOOLS REQUIRED
- Wooden Pegs
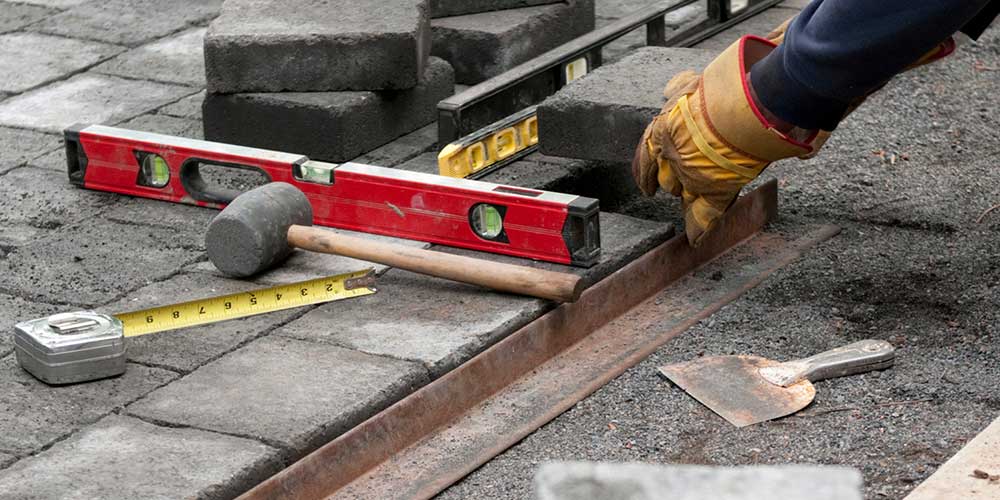
- Spirit Level
- Club Hammer
- Wooden Straight Edge
- Garden Roller
- Brush
1. SETTING OUT THE PAVING AREA
Whenever feasible, plan an area of paving so that it can be laid with whole slabs only. This eliminates the arduous task of cutting units to fit. Use pegs and string to mark out the perimeter of the paved and check the measurements before you excavate. You can use a straight wall, as well as a datum line and measure away from it, or allow for a 100 to 150mm margin of gravel between the wall and paving. A gravel margin not only saves time and money by using fewer slabs, but also provides an area for planting climbers and for adequate drainage to keep the wall dry. Any paving must be 150mm below a damp-proof course, in order to protect the building. As paving slabs are made to fairly precise dimensions, marking out an area simply involves accurate measurement, allowing for a 6 to 10mm gap between the slabs. Some slabs are cast with sloping edges to provide a tapered joint and should be buttered edge to edge.
 2. PREPARING A BASE FOR PAVING
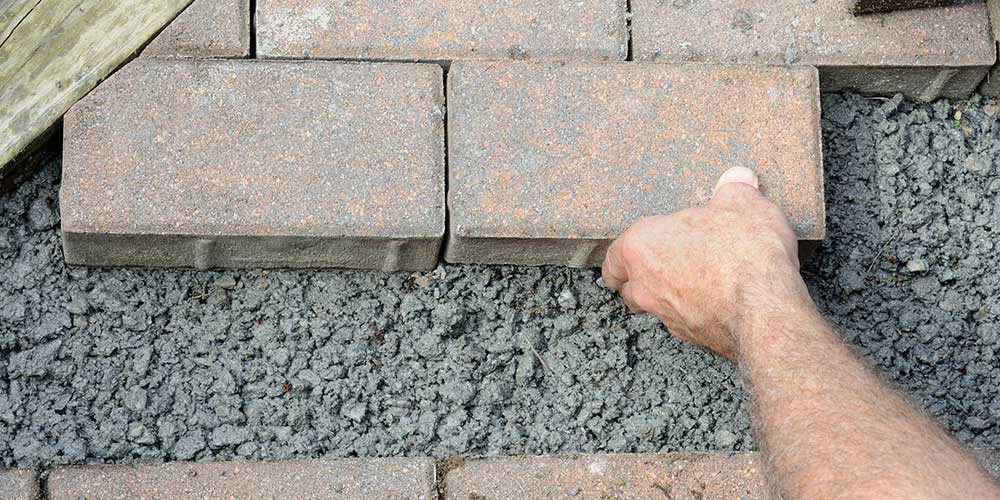
Paving slabs must be laid upon a firm level base, but the depth and substance of that base depends on the type of soil and the proposed use of the paving. Compact the soil with a garden roller and then spread the sand with a rake and level it by scraping and tamping with a length of timber. To support heavier loads, or if the soil is composed of clay or peat, lay a sub base of firmly compacted hardcore (broken bricks or crushed stone) to a depth of 75 to 100mm before spreading the sand to level the surface. If you plan to park vehicles on the paving, increase the depth of hardcore to 150mm.
3. LAYING PAVING SLABS
Step 1: Lay the fist-size blob under each corner and one more to support the centre of the slab. If you intend to drive vehicles across slabs, lay a continuous bed of mortar about 50mm thick.
Step 2: Lay three slabs at a time, inserting wooden spacers between. Level each slab by tapping with a heavy hammer, using a block of wood to protect the surface.
Step 3: Check the alignment. Gauge the slope across the paving by setting up datum pegs along the high side. Drive them into the ground until the top of each corresponds to the finished surface of the paving and then use a straight edge with a packing piece under one end to check the fall on the slabs.

Step 4: Lay the remainder of the slabs, each time working from the corner in order to keep the joints square. Remove the spacers before the mortar sets. Don’t walk on the paving for two or three days, until the mortar has set. If you have to cross the area, lay planks across the slabs to spread the load. To fill the gaps between paving slabs, brush a dry mortar mix into the open joints.Remove any surplus material from the surface of the paving, then sprinkle the area with a very fine spray of water to consolidate the mortar. Avoid dry mortaring if heavy rain is imminent; it may wash the mortar out.
SHOULD YOU HAVE ANY FURTHER QUESTIONS, PLEASE DO NOT HESITATE TO CONTACT YOUR LOCAL BUILD IT STORE