What’s a kitchen without a sink? Follow these simple instructions to fit a sink into a gleaming new counter top.
Your tools:
• Pencil
• Tape measure
• 12mm Wood drill bit
• Jigsaw
• Silicone
• Caulking gun
Step 1:
Make sure you measure the dimensions of the cut in the worktop precisely. Do this by placing the sink upside down and in place on the new worktop. Then draw a pencil line carefully around the edge.
Step 2:
Remove the sink and draw a second more prominent line inside the first line. This is to accommodate the lip of the sink. Make sure it is the same width as on the new sink. In most cases, the lip is 9mm.
Step 3:
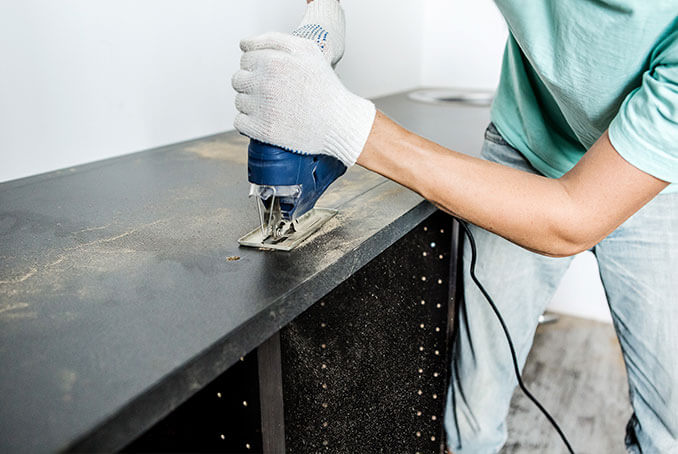
Drill an access point for the jigsaw blade with a 12mm drill or auger bit just inside the lip line. Then cut carefully all along the line using a jigsaw.
 Step 4:
With the cut complete, you are ready to fit the sink. Start by sealing the cut edge with PVA; this will not be visible, but gives the naked edge some resistance against moisture.
Step 5:
If the sink came with a rubber seal, attach it to the lip or, alternatively, use silicone. It is vital to ensure the edge has a watertight seal as it will affect the integrity of the worktop.
 Step 6:
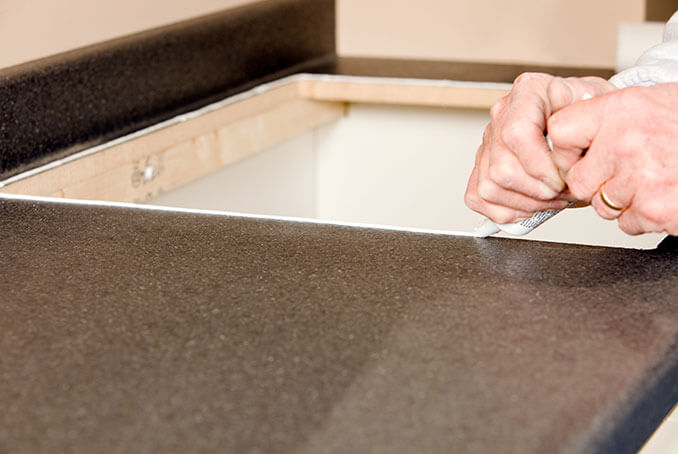
Put the sink in place and tighten the securing clips from the underside. To ensure a watertight seal, put more silicone
mastic around the edge and clean off any excess with a clean cloth dipped in spirits.
To install your tap, please consult a registered plumber.