Skirtings are an attractive feature in any room and are very easy to install. Removing old skirtings may be time consuming. But it’s well worth taking your time to work carefully and cause as little damage as possible to the wall and floor surfaces.
TOOLS REQUIRED
- Pencil
- Square
- Marking Gauge
- Wood Chisel
- Hammer
1. SKIRT THE FIRST WALL
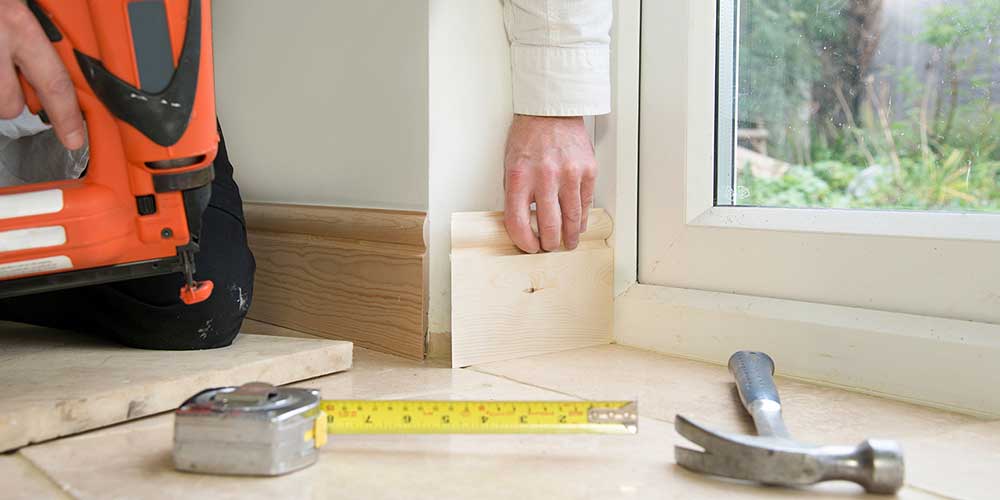
Start work on the longest wall in the room. Walls needing one length Cut board to the length required. Use screws and wall plugs on solid walls. Use oval nails on stud partition walls. Countersink screw heads and punch nail heads in.
.jpg.aspx "4-(1).jpg")
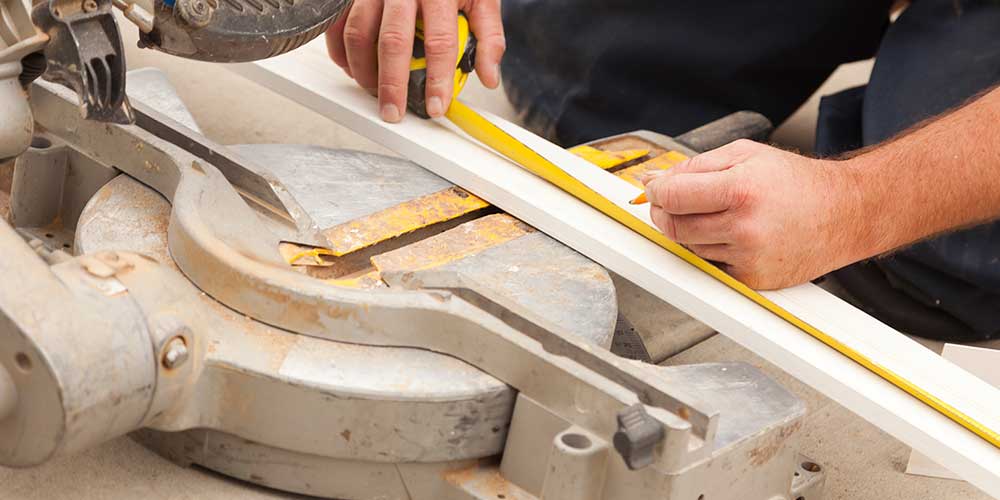
Walls needing two lengths Cut a 45° mitre on the open end of the first length so that it faces out into the room. Butt the square end into the corner and fix into place. Take the second length and cut a 45° mitre facing the other way on one end. Cut the second board to length, so it runs into the next corner of the room. Spread the cut pieces with adhesive and fix into place.
.jpg.aspx "2-(1).jpg") 2. SKIRT THE OTHER WALLS
2. SKIRT THE OTHER WALLS
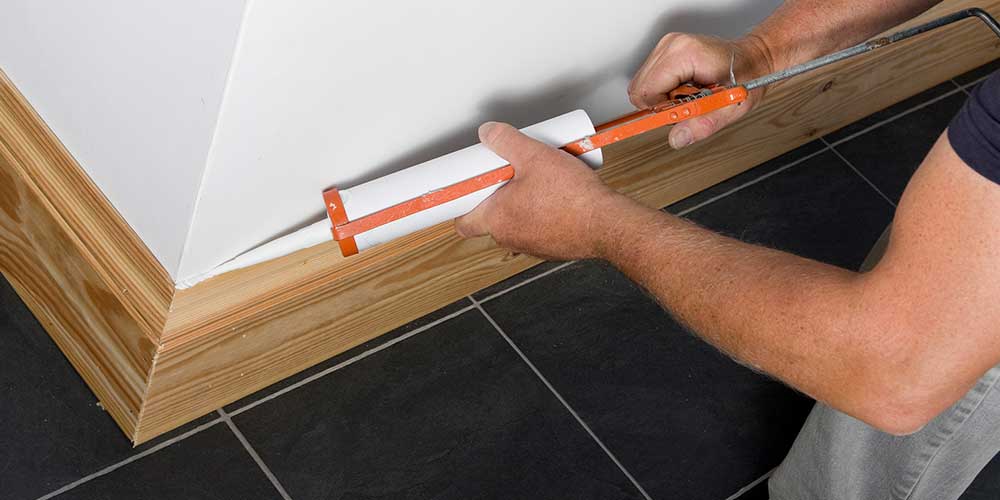
For corners to fit together, take second board and lay flat on floor, profile side facing up. Stand an off-cut vertically on end of the uncut board, aligning top and bottom of each board, draw around the profile. Cut along profile using a coping saw. For external corners, cut mitres then glue and pin the joint.
.jpg.aspx "5-(1).jpg") 3. FILL JOINTS
3. FILL JOINTS
Fill all the screw, nail heads and joints to prepare for decorating.
.jpg.aspx "3-(1).jpg")
SHOULD YOU HAVE ANY FURTHER QUESTIONS, PLEASE DO NOT HESITATE TO CONTACT YOUR LOCAL BUILD IT STORE