What will you need to get the job done?
Most of what you need is supplied with the door:
Additional tools and materials:
- A tape measure
- Screwdrivers
- No.4 allen key
- 10mm masonry bit
- A drill
- Heavy duty, external silicone.
Fig 01.) Handle with spindle and screw extensions. Fig 02.) Hardware bag. Fig 03.) Rawl bolts and caps.
Steel door installation guide
Like most things, DIY is easy when you know how. Follow these easy steps to get the job done like a pro.
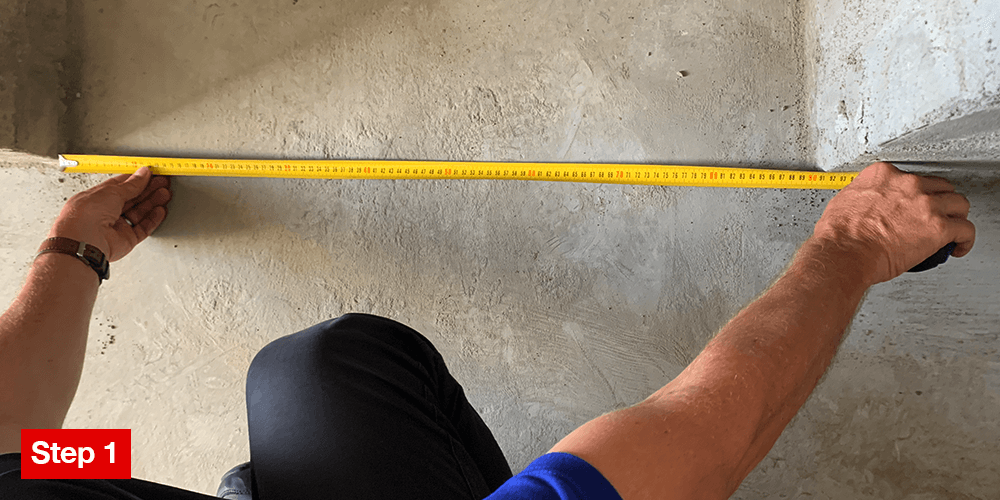
Step One
Measure the opening and ensure that it is 900mm wide and 2070mm high.
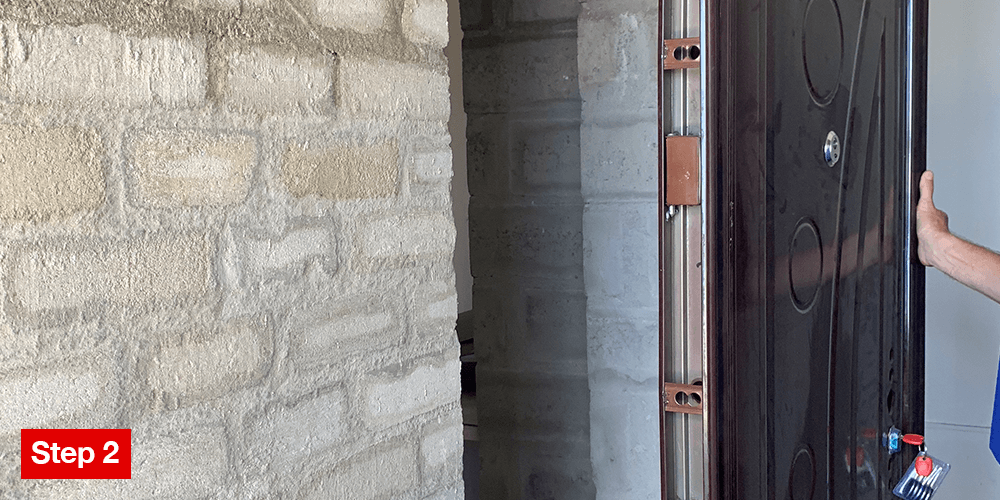
 Step Two
Insert the door from the outside.
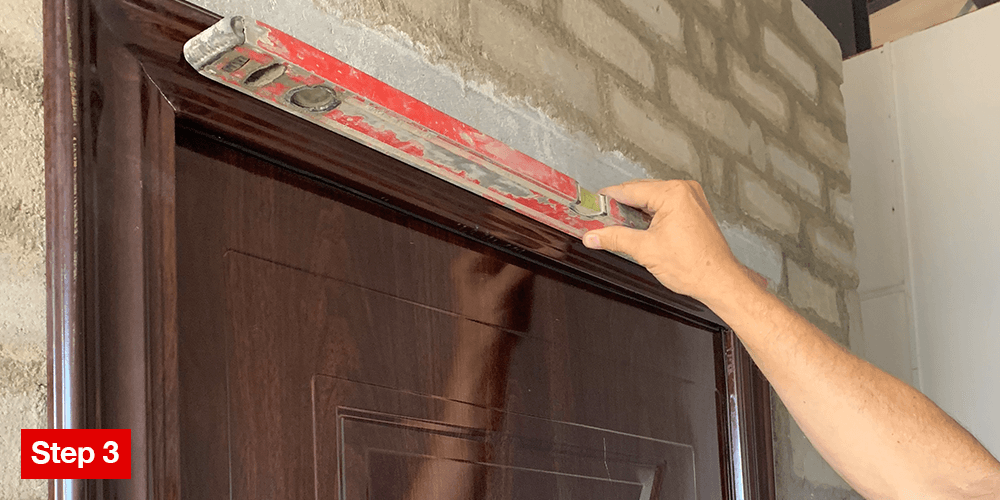
 Step Three
Make sure that the door is correctly placed, the bottom of the door should be aligned with the floor on the inside of the door.
 Step Four
Install the rawl bolt:
a) Open the door and drill a hole (10mm masonry bit) into the wall (4a).
b) Insert the rawl bolt into the hole and fasten with a 14mm socket (4b).
c) Cover the rawl bolt with an end cap(4c).
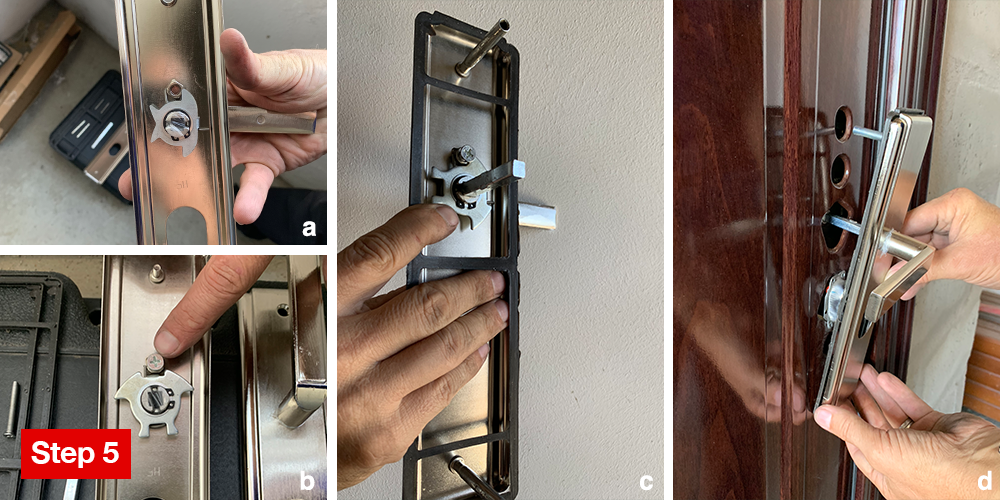
 Step Five
Next prep the handle for fitting.
a) The screw on the inside of the handle must be removed and then replaced to keep the door handle in the correct position to operate correctly (5a & b).
b) Insert the spindle (square) and the two screw extensions into the outside handle (5c).
c) Fit the handle from the inside using screws provided (5d).
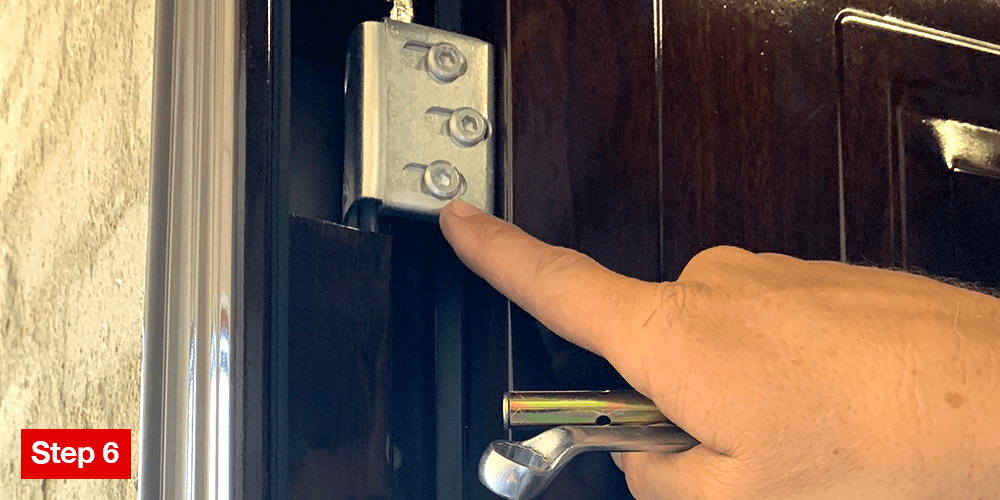
 Step Six
Test the door to see if it opens and closes correctly. If it doesn’t, adjust the attached hinges using a No.4 allen key.
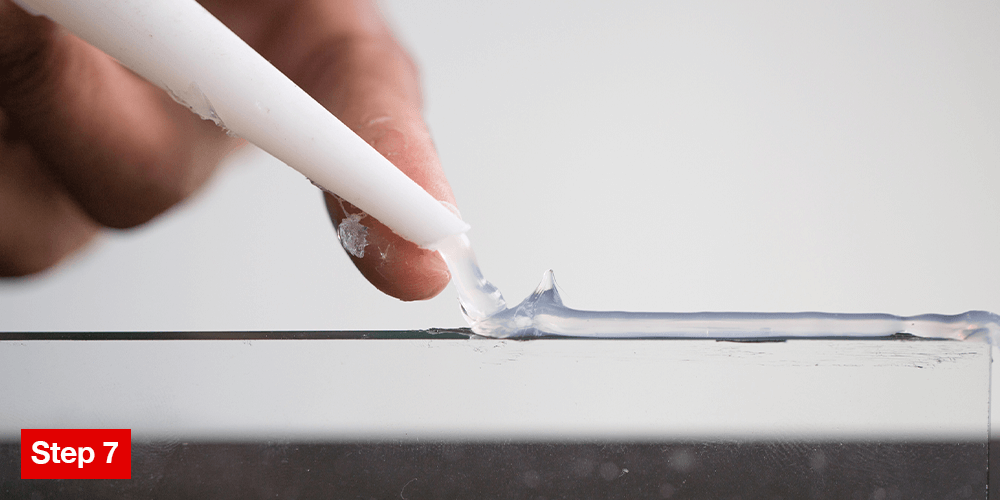
 Step Seven
Seal the door inside and out using heavy-duty external silicone