This is a shelving project you can easily do yourself. If you’re dead set on finishing this project in a weekend, here’s how.
Your Tools:
- Pencil
- Table or Radial arm saw
- Router
- Tape measure
- Drill bits
- Drill
Take measurements
Measure your closet to get the exact size and number of shelves you need.
Prepping your shelves
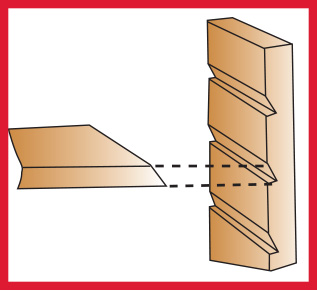
Prep your shelves by cutting dado grooves to your desired width and depth using a router.
Cut dado grooves at 90° and 45˚ angles on the inside face of each shelf for simple adjustments.
Then using your radial arm saw, trim the shelves to the same length before unclamping them.

Cut and install shelf brackets
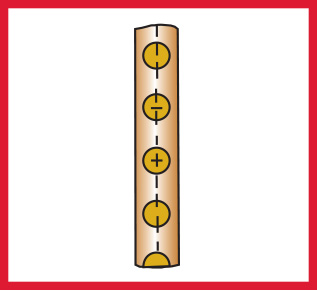
Using a 25 x 100mm timber or dowel rod, drill holes down the middle and cut it in half.
The number of holes you drill will be determined by the size and length of your closet.

Attach wall brackets
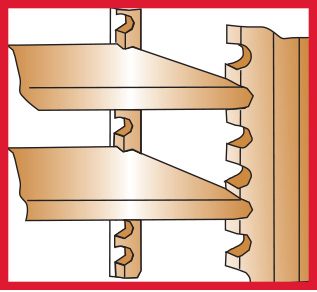
Position the split halves at each side of the closet, then attach each half by drilling it to the wall for shelf support.

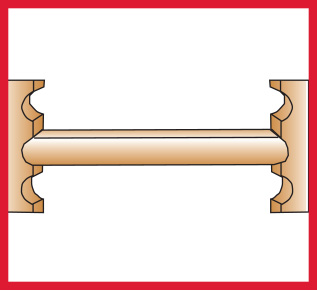
Slide shelves into dado grooves
With the shelf support in place, measure the distance between the facing brackets and cut your shelves to fit and slide the shelves into the grooves.
